Code Block
- About Code Blocks
- Reference Manual Entry
Description
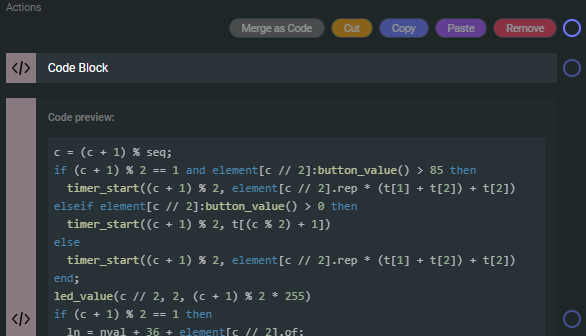
A Code Block is a special type of Action Block that makes it possible to program complex actions with the help of lua scripting and specific Grid variables and functions. You can find a comprehensive guide to lua 5.4 and a reference manual to Grid functions and variables.

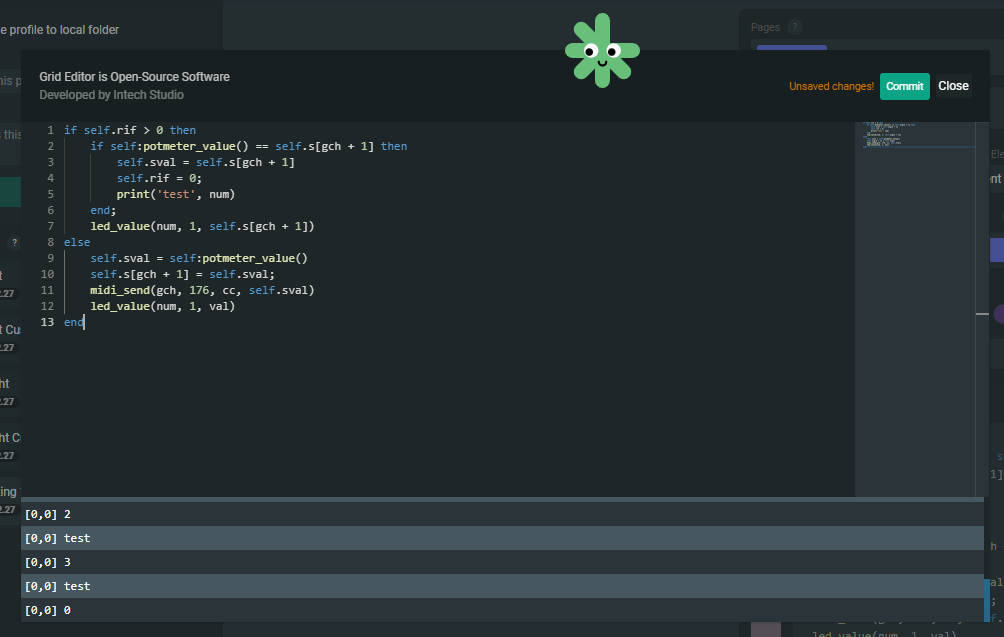
When using a Code Block you should be pressing the Commit button every time you'd want to exit the code editor and you want your code to be saved. When pressing commit, Editor will try and run your code, and will report back with simple error messages.
The LUA not OK message will appear when there's something wrong with the syntax of the submitted code, or parts the code is referencing might not exist in the form your code is trying to call it.
When scripting in the code editor it will try and suggest functions and variables. Sometimes these suggestions are incorrectly formatted, so exercise caution when using these.

Any Action Block in Grid Editor can be reduced back to a Code Block using the Merge as Code button when one or more Action Blocks are selected. This can be helpful when trying to fit into the character limit of a given configuration, as Merge to Code will reduce your character count by at least 10% sometimes by more.
Using the Merge to Code function of Grid Editor will irreversibly change all the selected Action Blocks into a Code Block, with no way to change them back.
On the Reference Manual Entry tab for Code Block, you can find a variety of Grid Editor functionality only accessible with lua code in a Code Block.
Code Blocks are the playground for lua code in Grid Editor. Below you can find some functions that belong to no specific action, but could be very useful regardless:
Functions referring to elements
element
shortname: ele
- How:
self:element_index() - What: Returns the value of the element # number.
- Example: Inputting the code
print(self:element_index())into a Code Block will output the # number of the control element into the debug field. E.g. this Code Block on the top left button will output the message0. By default all Grid configurations use this function to define a local variable namednumon each interactable event, such as a potmeter. Thisnumvariable is given value based on theself:element_index()function.
element name
shortname: gen
- How:
self:element_name("name")- "name": string, put between " " or ' ' symbols
- What: This function gives a name to the control element, or when called without parameters, it returns the name of the control element as a string. IMPORTANT: The name will only work, if it's put in the first place of the action chain.
- Example: The function
self:element_name("helloworld")in a code block, put in the top of the action chain, will name the control element helloworld.
element name send
shortname: gens
- How:
self:element_name_send() - What:
- Example:
Module information
module_position_x
- shortname: gmx
- How:
module_position_x() - What: Returns the value of module position on the x axis. In the zero position there is the module connected to the host computer.
- Example:
module_position_y
- shortname: gmy
- How:
module_position_y() - What: Returns the value of module position on the y axis. In the zero position there is the module connected to the host computer.
- Example:
module_rotation
- shortname: gmr
- How:
module_rotation() - What: Returns the value of module rotation compared to the module connected by a USB cable to the host computer. The values returned are between
0and3, with0representing the same module rotation as the connected module. - Example:
hardware version and type
- How:
hardware_configuration() - What: It returns a value corresponding to the module hardware version.
- Example: Open System event Setup and print out the value of your Grid module. You can see the result in the MIDI monitor Debug view:
print(hardware_configuration())
  "GRID_MODULE_PO16_RevB": "0",
  "GRID_MODULE_PO16_RevC": "8",
  "GRID_MODULE_PO16_RevD": "1",
  "GRID_MODULE_BU16_RevB": "128",
  "GRID_MODULE_BU16_RevC": "136",
  "GRID_MODULE_BU16_RevD": "129",
  "GRID_MODULE_PBF4_RevA": "64",
  "GRID_MODULE_PBF4_RevD": "65",
  "GRID_MODULE_EN16_RevA": "192",
  "GRID_MODULE_EN16_RevD": "193",
  "GRID_MODULE_EN16_ND_RevA": "200",
  "GRID_MODULE_EN16_ND_RevD": "201",
  "GRID_MODULE_EF44_RevA": "32",
  "GRID_MODULE_EF44_RevD": "33",
  "GRID_MODULE_TEK1_RevA": "225",
  "GRID_MODULE_TEK2_RevA": "17",
  "GRID_MODULE_PB44_RevA": "145",
Page functions
page_load
- shortname: gpl
- How:
page_load(page_number) - page_number: integer, ranging 0...3
- What: This function loads the page associated with the inputted
page_numberparameter. - Example: Using the command
page_load(2)will load the second page as set up in Grid Editor. You can also use the functionspage_next()andpage_previous()as described below to switch to the next and previous pages by using the commandspage_load(page_next())andpage_load(page_previous())respectively.
page_next
- shortname: gpn
- How:
page_next() - What: This function returns the number of the next active page. Next in this case meaning the page with the number
X+1whereXis the number of the currently active page. If the currently active page is also the last one, this function will return0. - Example: Writing
print(page_next())into a Code Block.
page_previous
- shortname: gpp
- How:
page_previous() - What: This function returns the number of the previous active page. Previous in this case meaning the page with the number
X-1whereXis the number of the currently active page. - Example:
Printing to the debug window
print
- How:
print(function())orprint("string")
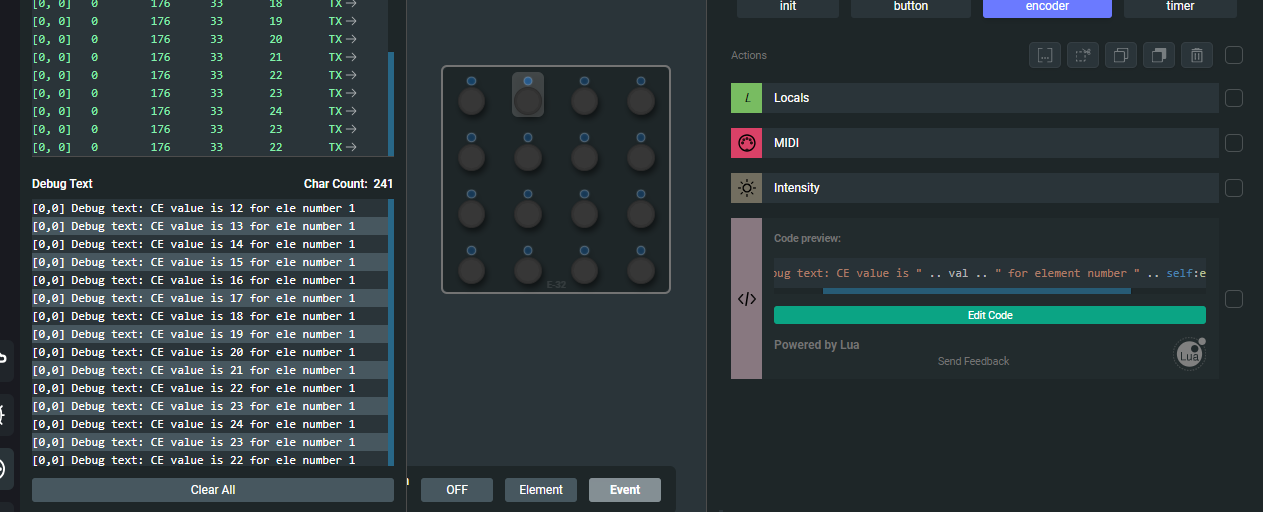
Using the print function is very useful to see if your configuration is working properly.
Include print('Useful debug text' .. self.testvariable) and code similar to this to know what goes wrong when your configuration behaves strangely.
What: The
printfunction outputs the values of functions between the parentheses brackets in the debugger window, in the order you asked for them. If you're trying to print out multiple values you have to use..as a divider. When using theprint()function with a"string"parameter, the function will output thestringvalue between the parentheses to the debug window within Editor. When using theprint()function with afunction()parameter, theprint()function will output the value of the function set as the parameter if the function has a valid return value.Example: Inputting the
print(self:button_value())in the Code Block will print each value change on a button press into the debugger window on the left.For troubleshooting purposes, using any kind of string in the print function can indicate for you if a programmed Action Chain is happening correctly. For example setting two different print functions such as
print("TRUE")andprint("FALSE")to the two parts of anifandelsefunction fork will help you check if the correct condition plays out when the event plays.If you want to print out variables you can do that too with code like this:
print(self.variable)this prints the value ofself.variableto the debug window. Using print() for debug messages.
You can also concatonate code so that each printed message displays multiple values like this:
print('Useful debug text' .. 'This variable is' .. self.testvariable .. 'this much on element' .. self:element_index()).
Trigger events remotely
The event_trigger() function described below is useful for a lot of things, but it also has the capability to introduce infinite trigger loops in your code. Tread carefully!
event_trigger
- How:
event_trigger(element_number, event_number)- element_number: integer, ranging 0...255
- event_number: integer, ranging 0...6
- What: This function triggers an event, independently from that event's trigger (e.g. press all buttons by just pressing one button). Each event has a defined reference number:
- 0: init
- 1: potmeter
- 2: encoder
- 3: button
- 4: utility (system event only)
- 5: midirx (system event only)
- 6: timer
- Example: This function is the most useful
Randomized values
random8
shortname: grnd
How:
random8()What: Returns the value of a random number from 0 to 255, so this function is an 8bit random number generator.
Example: Inputting
led_color(num,1,random8(),random8(),random8())will set the LED color of the control element, each time a value change happens, the LED color of each button press will be randomized.A fun example would be a code for randomizing LEDs on a Grid module with 16 LEDs:
for x = 0, 16 do
    r = random8()
    g = random8()
    b = random8()
    led_color(x, 1, r, g, b)
    led_color(x, 2, r, g, b)
end
If you'd want different values for the two layers just double the whole variables section like this:
for x = 0, 16 do
    r1 = random8()
    g1 = random8()
    b1 = random8()

    r2 = random8()
    g2 = random8()
    b2 = random8()

    led_color(x, 1, r1, g1, b1)
    led_color(x, 2, r2, g2, b2)
end
This could be useful for encoders for example, that can have a different (layers 1+2 both active) color when you rotate an encoder while also pushing down on it.